Creating Projects
On this page you will find information about:
Create a new project
-
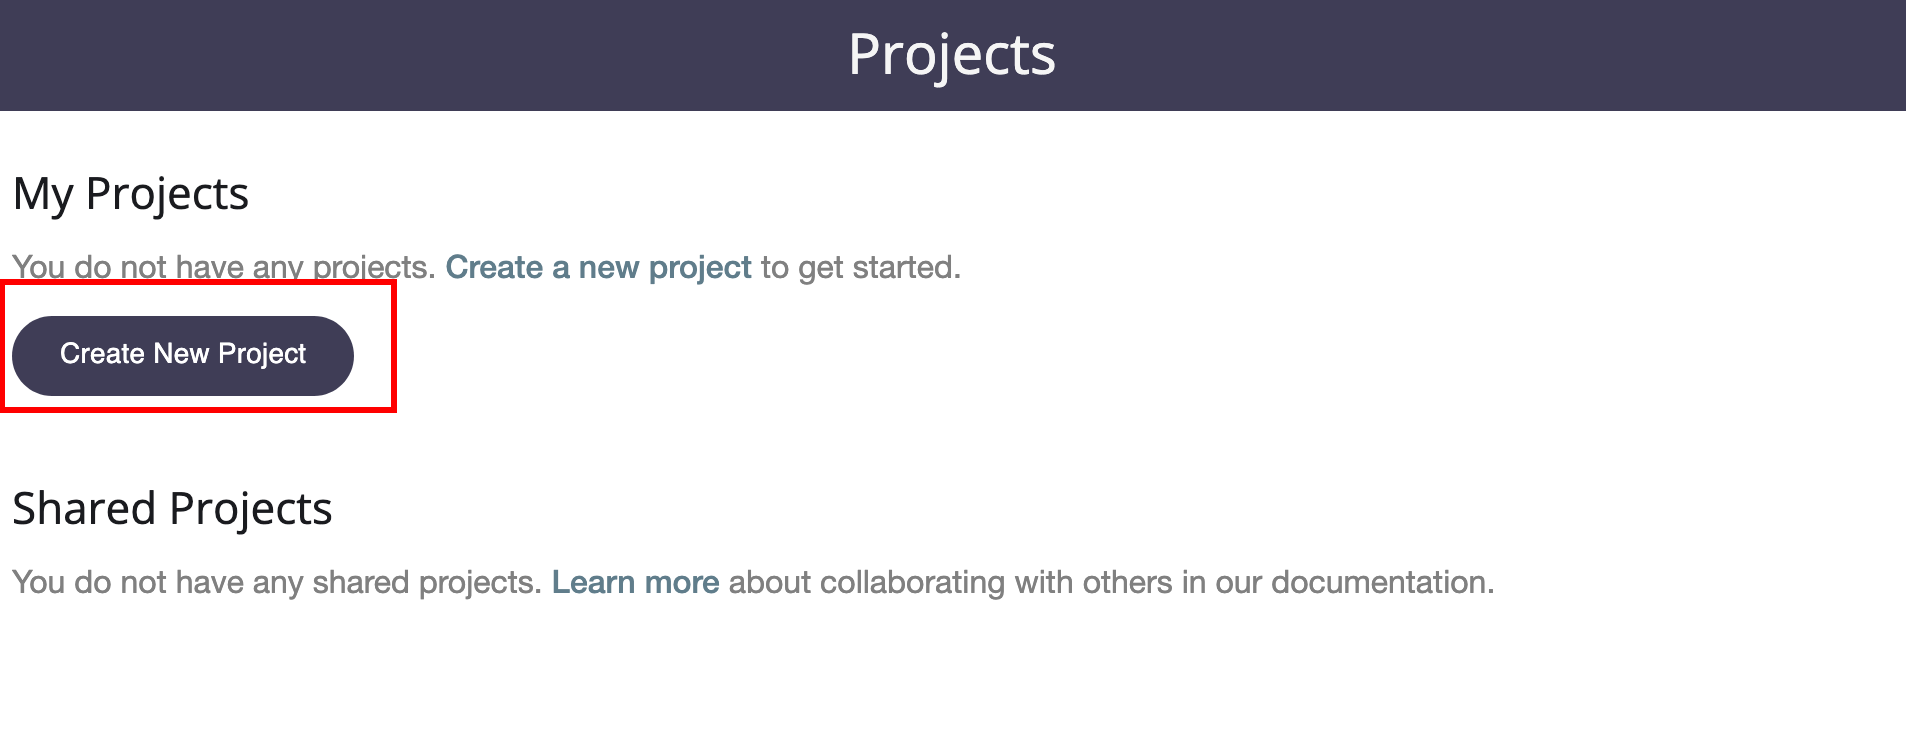
Navigate to the Projects page and select Create New Project
-
Give your project a short and descriptive name. This is the name your and your collaborators will see across the application. This is also the name your participants will see when they enrol, so choose something they will recognize!
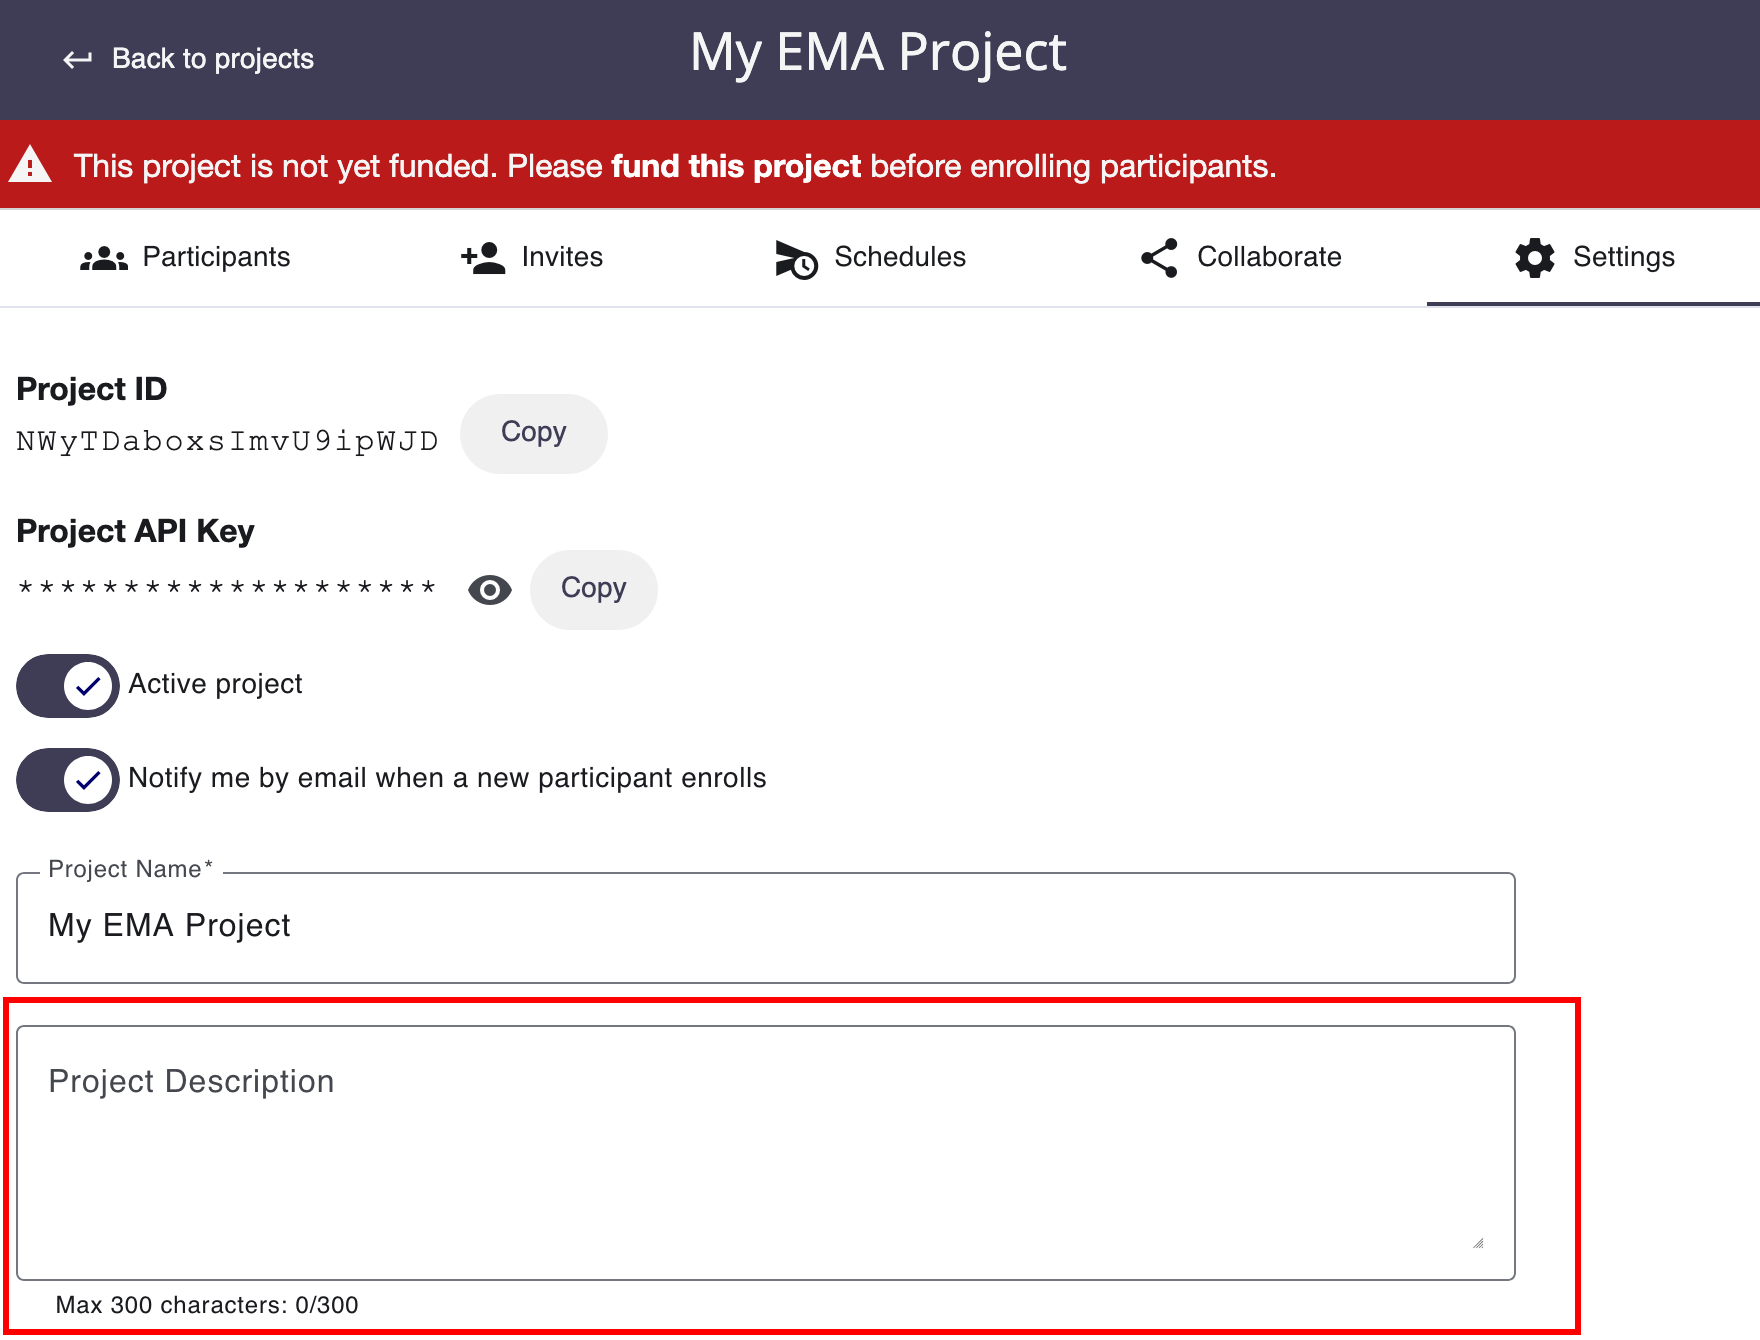
 Once you have created your project, you will be automatically directed to your project's overview page. In the settings tab, you will find your project's ID, a unique alphanumeric value that identifies your project and is sent as a survey parameter with each ping.
 - Navigate to Settings and add an optional project description. Your participants will see this description when they enroll in your study.
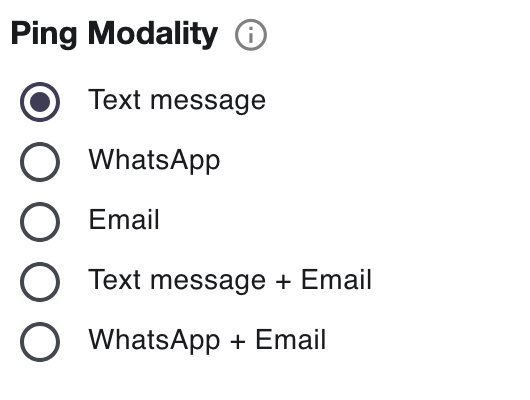
- By default, your pings will be sent by text-message (SMS) only. To change the default ping modality for your project, navigate to Settings and select your desired modality. You can change this on a participant-by-participant basis if desired in the participant's page.
Create a new schedule
Schedules are the engine that make Inclivio run. You can have as many schedules
per project as you would like, and you can apply multiple schedules to each
participant. Refer to the
schedules documentation to learn
how to create a new schedule.
Collaborate with others on your research team
You can share your project with other members of your research team
to allow them to assist in study coordination while maintaining
control of the project yourself.
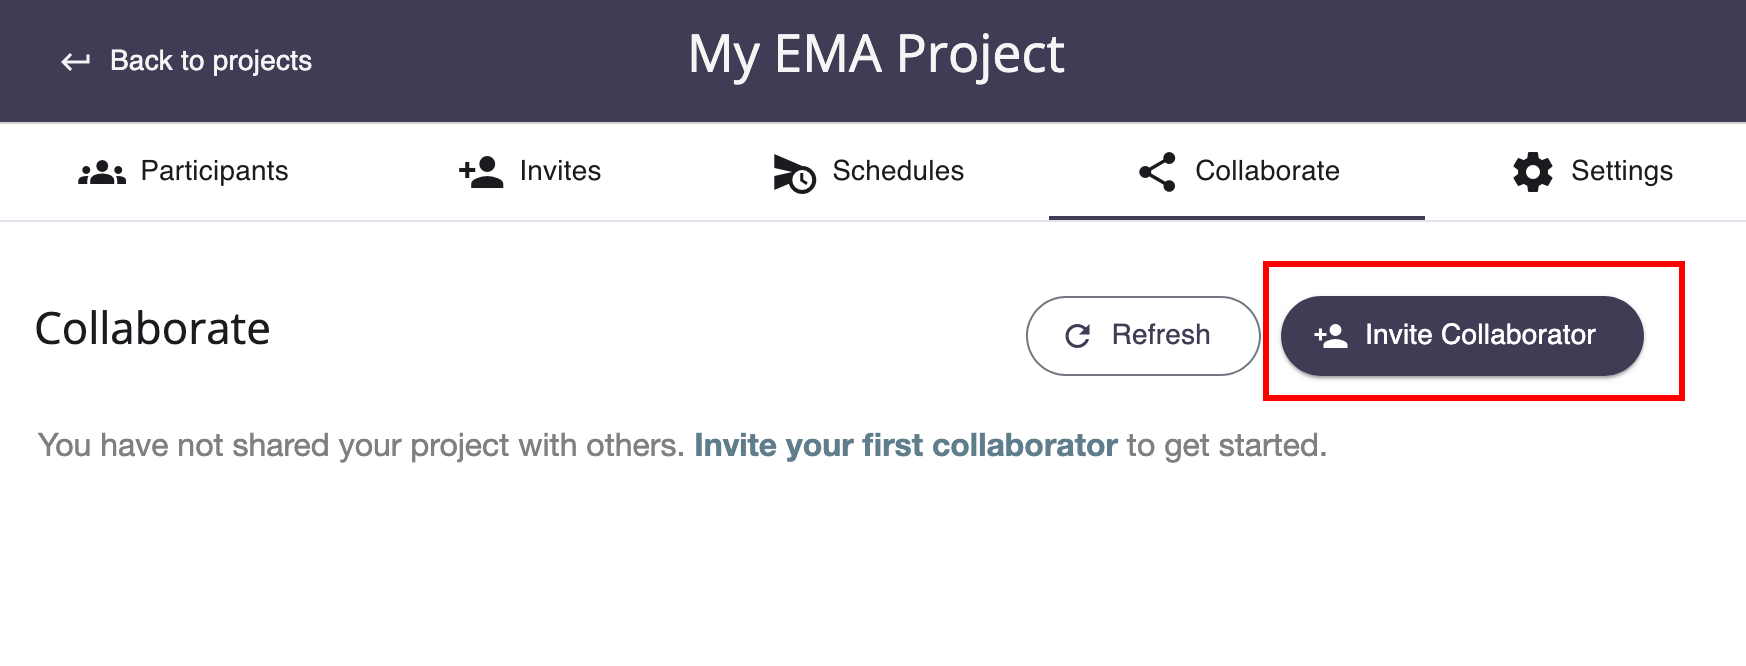
- Navigate to the Collaborate tab and click the Invite your first collaborator text.
-
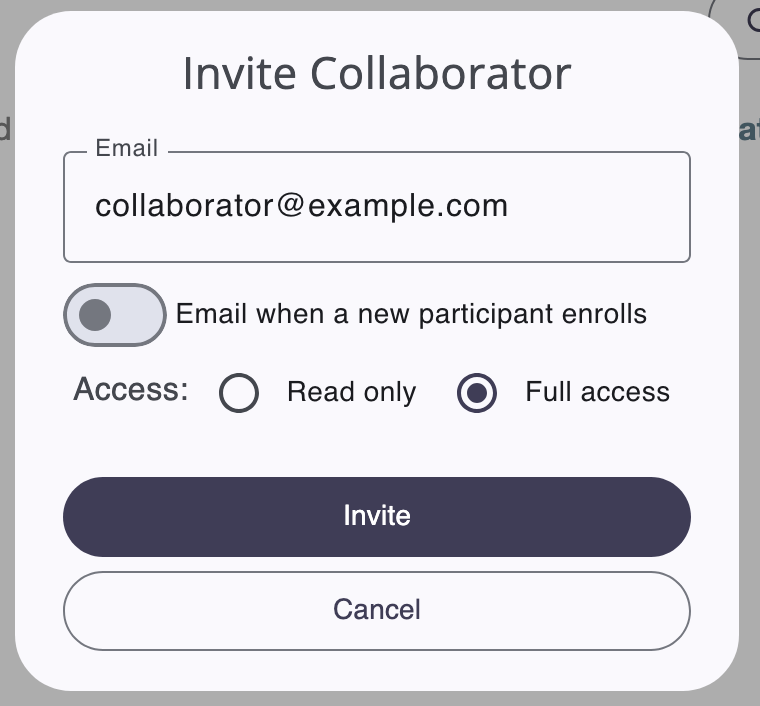
Enter the email address of the user you would like to collaborate with. Toggle on
'Email when a new participant enrolls' if you would like this collaborator to
recieve an email notification when participants enroll in your project.
Then select the level of permissions you would like that user to have.
- Read Only: Your collaborator can view your project's settings, participant list, and schedules, but cannot make any changes to the study. Select this option if you want the user only to monitor study progress.
- Read + Write: Your collaborator can view and modify your project. Select this option if you want the user to be involved in study administration.